


How to Install a Plug-In Pendant Lamp: A Step-by-Step, Renter-Friendly Guide
Noctlight Lighting Journal · Installation Guide
How to Install a Plug-In Pendant Lamp: A Step-by-Step, Renter-Friendly Guide
Plug-in pendant lighting can add a warm, sculptural focal point without opening an electrical box or permanently rewiring the ceiling. Here is how to plan the position, install suitable hooks, set the drop, route the cord, and finish the room safely.
A ceiling light does not always need to begin at a junction box. A plug-in pendant lamp—also called a plug-in swag light—hangs from a properly rated ceiling hook while its power cord runs to a standard wall outlet. That flexibility makes it one of the most useful lighting solutions for renters and for rooms where the existing ceiling fixture is in the wrong position.
The idea is simple, but a polished result depends on accurate placement, a secure mounting method, an appropriate hanging height, and careful cord management. This guide explains how to hang a plug-in pendant light without hardwiring while avoiding the most common DIY mistakes.
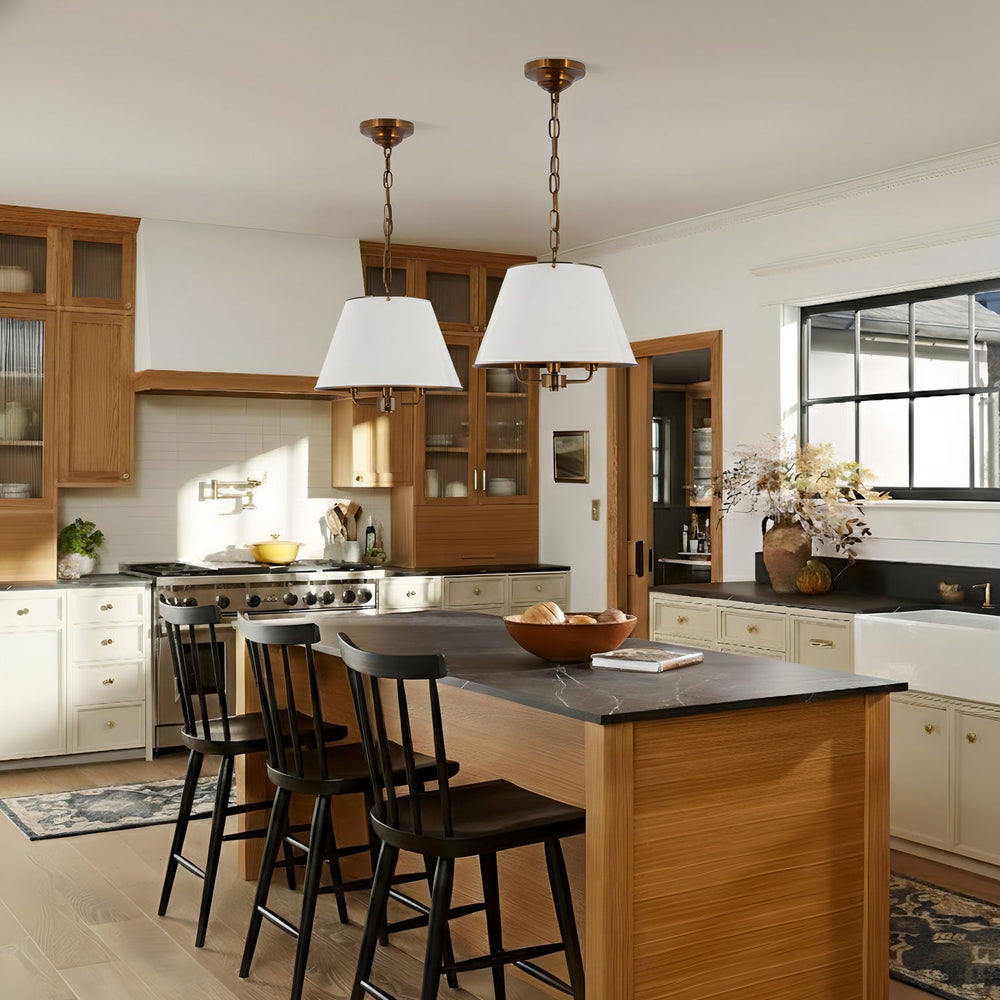
 A well-positioned pendant creates both useful illumination and a clear visual center.
What You Need Before You Begin
How to Install a Plug-In Pendant Lamp
Choose the lighting position
Begin with the activity you want to illuminate. A pendant may center above a dining table, define a reading chair, replace a bedside table lamp, or add ambient light to a dark corner. Temporarily hold the shade in position while another person views it from across the room.
Then identify the nearest suitable outlet. The cord should reach without being stretched, crossing a doorway, passing beneath a rug, or creating a trip hazard. If the cord is too short, use only an extension method specifically permitted by the fixture manufacturer and applicable local requirements.
Calculate the drop and cord route
Measure from the ceiling hook to the desired bottom of the shade. Next, measure the route from the hanging hook to a second swag hook near the wall, then down to the outlet. Include enough slack to create a controlled curve rather than a tight diagonal line.
For the cleanest appearance, place the wall-side hook close to the wall and align the vertical cord route with an architectural edge, curtain line, cabinet side, or room corner.
Confirm the ceiling structure
Determine whether the first hook can fasten into a ceiling joist or whether the ceiling requires an approved anchor. A joist connection is generally preferable when its position works with the design. Do not assume a generic plastic wall anchor is suitable for overhead loading.
Older plaster, suspended ceilings, masonry, and unusually heavy shades require special consideration. If you cannot positively identify an appropriate mounting method and load rating, pause and use a qualified professional.
Install the hooks
Mark the primary hanging point and the secondary cord-routing point. Check both measurements before drilling. Install each hook exactly as its manufacturer specifies, including pilot-hole size, anchor type, embedment depth, and load limitations.
After installation, verify that the hooks are fully seated and do not rotate, pull away, or loosen under gentle testing. Never test an overhead hook by hanging your body weight from it.
Hang the pendant and set its height
With the lamp unplugged and the bulb removed, place the fixture's designated support loop, chain, or cord-support component onto the primary hook. Route the cord through the swag hook and adjust the drop. The electrical cable should not rub against a sharp edge or carry force in a way the product was not designed to handle.
Reinstall the compatible bulb only after the shade is stable. Step back and check the pendant from seated and standing eye levels before securing the final cord position.
Route and secure the cord
Guide the cord toward the outlet using clips or a surface cord cover suitable for the wall finish. Maintain gentle curves, avoid tight staples or fasteners, and never place the cord where furniture, doors, or window hardware can crush it.
Keep the plug accessible. Do not conceal a plug connection inside a wall or ceiling, and do not run the cord beneath carpeting.
Test the light and review the installation
Plug the lamp directly into the intended outlet and turn it on. Confirm that the switch is reachable, the bulb does not exceed the stated maximum wattage, the shade remains stable, and no part of the cord becomes unusually warm.
After the first few uses, inspect the hooks and cord route again. Stop using the lamp if you notice a loose hook, damaged insulation, flickering, sparking, a burning odor, or abnormal heat.
Recommended Plug-In Pendant Hanging Heights
There is no universal height for every fixture, but the following starting points work for many American homes. Always account for the shade's size, viewing angle, ceiling height, and the people using the space.
| Location | Useful starting point | What to check |
|---|---|---|
| Above a dining table | About 30–36 in. above the tabletop | Preserve sightlines and keep the light source out of seated diners' eyes. |
| Above a kitchen counter | About 30–36 in. above the counter | Check task-light coverage and avoid conflicts with cabinet doors. |
| Open walking area | Approximately 7 ft of clearance below | Increase clearance for tall occupants and circulation routes. |
| Bedside pendant | Shade bottom roughly 18–24 in. above the nightstand | Confirm switch access and glare control from the bed. |
| Reading corner | Near shoulder level when seated | Place the glow beside the reader rather than directly in the eyes. |
 Consider the fixture from seated and standing viewpoints before finalizing its height.
How to Choose the Right Bulb
For a cozy plug-in pendant lamp in a bedroom or dining room, many people prefer a warm LED appearance around 2700K. A 3000K LED can feel slightly clearer for kitchens, studios, or mixed-use areas. Color temperature alone does not determine comfort: shade opacity, lumen output, bulb visibility, and beam direction also affect the result.
- Check the base: match the bulb base to the socket listed for the fixture.
- Respect maximum wattage: never exceed the lamp's marked electrical rating.
- Consider visible bulbs: choose a lower-glare decorative bulb when the lamp exposes the light source.
- Confirm dimming: a dimmable LED, dimmer, and fixture must all be mutually compatible.
- Use rated products: wet or damp locations require lighting specifically identified for that environment.

Common Installation Mistakes to Avoid
- Using the electrical cord as the sole structural support.
- Installing an overhead hook without confirming the ceiling material and load rating.
- Hanging the shade too low in a walkway or too high above a table.
- Stretching the power cord tightly between the pendant and outlet.
- Running a cord under a rug, through a doorway, or where furniture can pinch it.
- Using a bulb that exceeds the fixture's maximum wattage.
- Drilling without checking for concealed utilities or obtaining landlord approval.
Quick Answers for Homeowners and Renters
Can you install a pendant light without an electrician?
A purpose-built plug-in pendant normally does not require connection to household wiring. However, the ceiling support still must be installed correctly. Hire a qualified professional if you are uncertain about the ceiling, mounting hardware, electrical condition, or local rules.
Are plug-in pendant lights renter-friendly?
They can be renter-friendly because they avoid permanent electrical rewiring, but hooks still create ceiling penetrations. Obtain property-owner approval when required and use mounting hardware appropriate for the ceiling rather than relying on removable adhesive hooks unless the lamp manufacturer explicitly permits them for the complete overhead load.
Can a plug-in pendant hang over a dining table?
Yes. A dining table prevents people from walking directly beneath the fixture, making it a practical location. A starting height of approximately 30–36 inches above the tabletop works in many rooms, then adjust for shade size and sightlines.
How do you hide a plug-in pendant cord?
Create an intentional swag between two hooks, then guide the cord vertically down the wall with a paintable surface cord cover or suitable clips. Do not place the cord inside a wall unless the system and installation are specifically approved for that use.
The Takeaway
A plug-in pendant is one of the simplest ways to bring overhead light to the exact place it is needed. The most successful installation is not merely decorative: it uses properly rated support hardware, a safe cord route, an appropriate bulb, and a hanging height matched to the activity below.
As the U.S. residential lighting market continues to favor warmer and more expressive layers of light, the plug-in format gives renters and homeowners a flexible way to participate—without turning a design update into a rewiring project.
Discover Sculptural Lighting from Noctlight
Explore pendant lights shaped by paper, glass, metal, natural stone, and soft architectural forms. Review the individual product page before ordering to confirm installation type, dimensions, voltage, bulb requirements, and whether a plug-in configuration is available.
Explore All Lighting